Online teaching has transformed education, and getting started is easier than you think. In this guide, we will walk you through everything you need to know to set up your first classroom on Teamlilit and teach your first live lesson.
Why Choose Online Teaching?
The shift to online education has opened incredible opportunities for educators worldwide. Whether you are a seasoned teacher or just starting out, online teaching offers:
- Flexibility to teach from anywhere
- Wider reach to connect with students globally
- Powerful tools to enhance the learning experience
- Scalability to grow your teaching practice
The catch: most tutors start by duct-taping Zoom, WhatsApp, and a spreadsheet together. An online tutoring platform that combines the classroom, scheduling, and student records saves you from rebuilding that stack later.
Setting Up Your Account
First, create your teacher account at Teamlilit. The process takes less than two minutes.
Complete Your Profile
A complete profile helps students find and trust you. Make sure to:
- Add a professional photo
- Write a compelling bio
- List your subjects and expertise
- Set your availability
That last step matters more than it looks: your availability is what powers student self-booking, so students can book your open slots without a single back-and-forth message.
Creating Your First Class
Navigate to your dashboard and click New Class. You will need to provide:
- A class name that clearly describes the subject
- Subject area for proper categorization
- Schedule preferences for recurring sessions
- Maximum student capacity

Recurring weekly lessons are the backbone of a tutoring schedule. Set them once and they repeat automatically; see our guide to building a tutoring timetable for how to structure your week.
Inviting Your Students
Once your class is ready, bring your students in:
- Direct invite by email or username from your student roster
- Public booking page where new students can request a slot that you approve
Running Your First Session
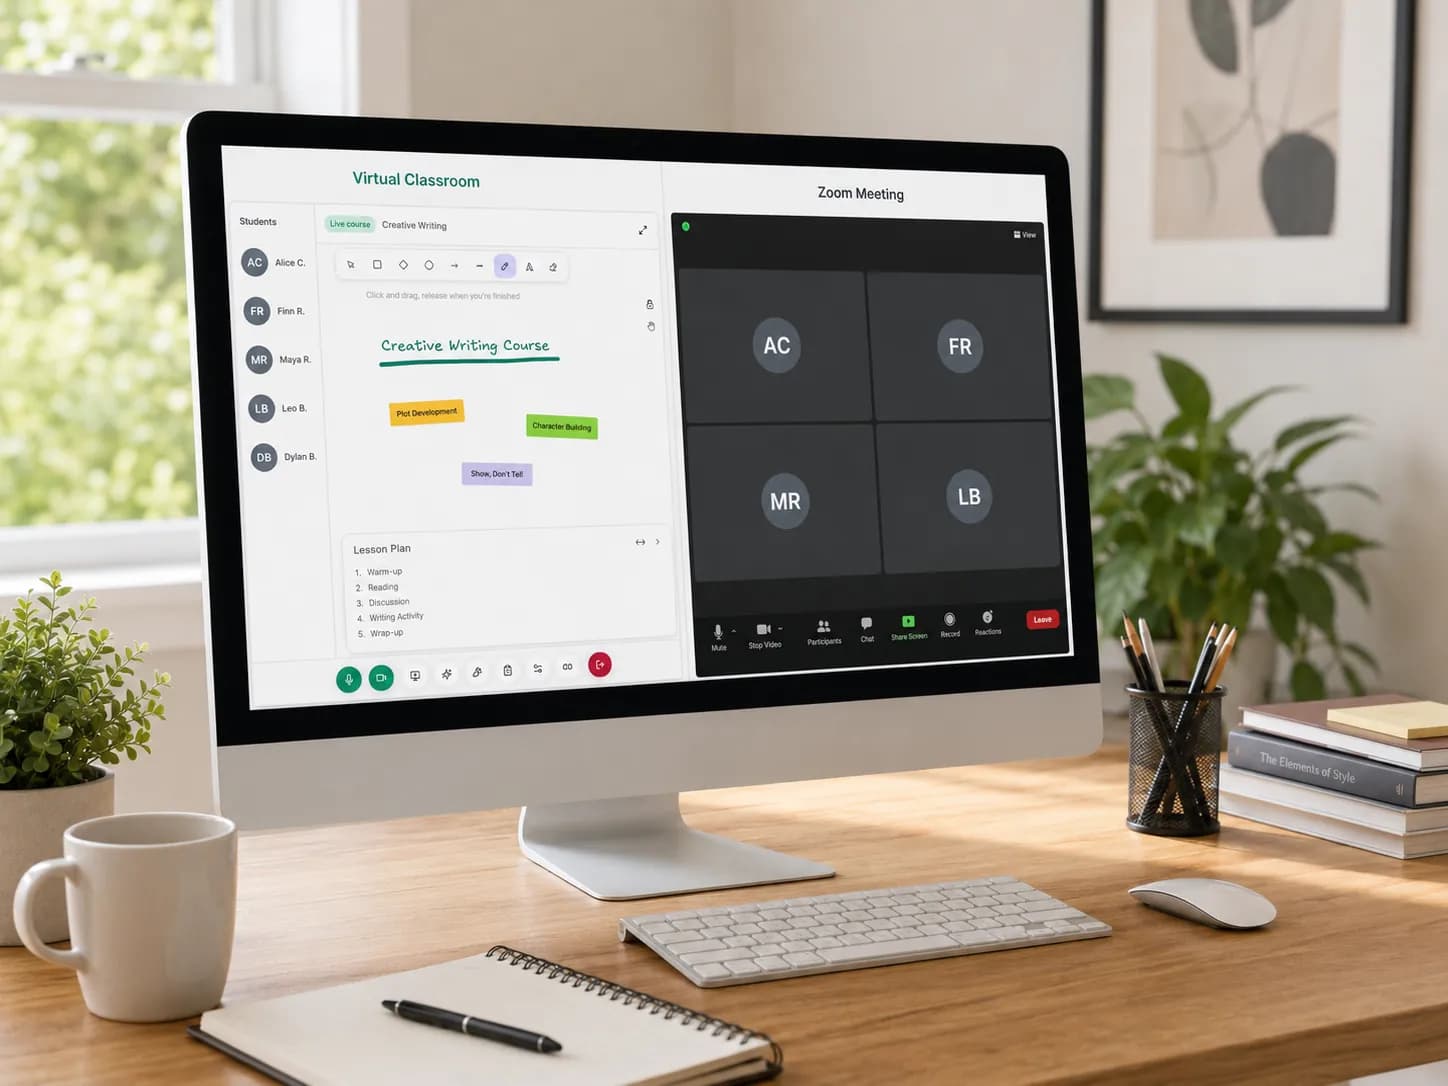
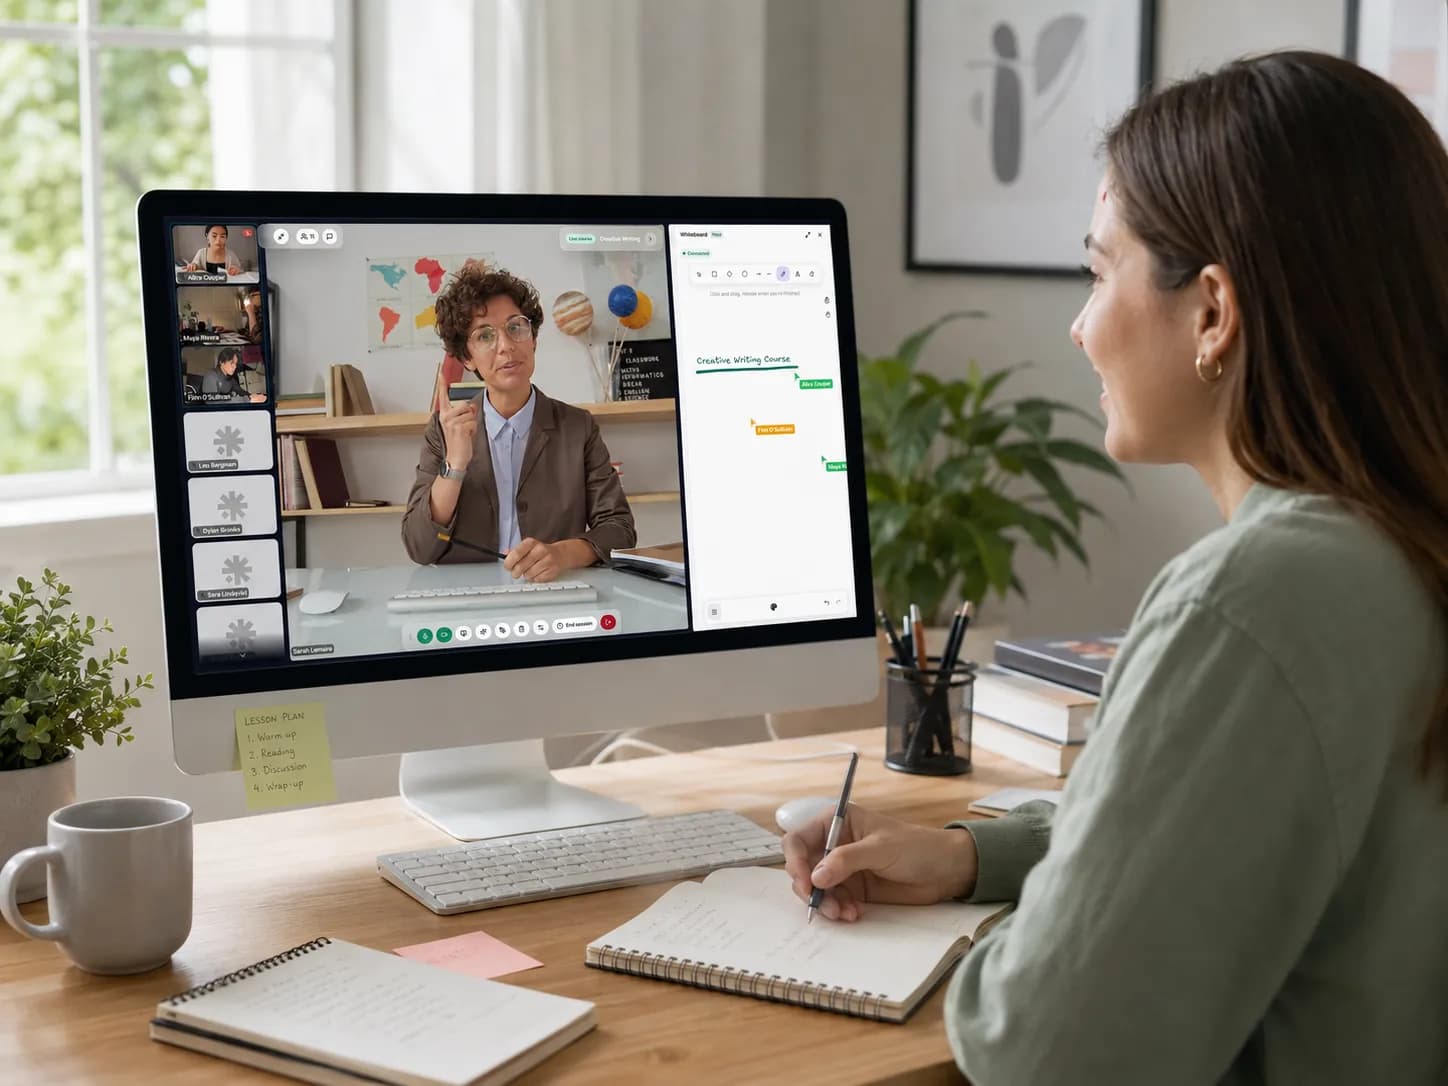
When it is time to teach, simply click Start Session from your dashboard. Everything happens inside the built-in virtual classroom, so there is no meeting link to send.
Live Video Conferencing
Teamlilit provides HD video with low latency, ensuring smooth communication with your students. You can:
- Share your screen
- Use the collaborative whiteboard for visual explanations
- Put any participant on the main stage for presentations
Interactive Tools
Keep your students engaged during the lesson:
- Collaborative whiteboard that you and your students draw on together
- File sharing during the session
- Chat for questions and discussions
- Recordings so students can review the lesson later (Pro and Academy plans)
After the Session
Once your session ends, Teamlilit automatically:
- Records attendance, including how long each student was in class
- Keeps shared resources available in the class library
- Lets you write a session wrap-up with notes and homework per student
That attendance and time record builds up on every student's profile, which is what you will reach for when a parent asks how the month went.
Best Practices for Online Teaching
Based on feedback from educators on Teamlilit, here are some tips:
- Start with a warm-up to engage students from the beginning
- Use visuals extensively to keep attention, the whiteboard is your friend
- Encourage participation through questions and chat
- Take breaks every 20-25 minutes for longer sessions
- Follow up with shared notes and resources
If you are teaching more than two or three students at once, group classes change the economics of your tutoring; one prepared lesson, several students, one time slot.
Frequently Asked Questions
What do I need to start teaching online?
A reliable computer, a stable internet connection, a video tool with screen sharing, some form of whiteboard, a way for students to book lessons, and a way to get paid. Everything else can come later.
How do I get my first online students?
Start with your existing network: former students, friends of families you have taught, school and community groups. Marketplaces can fill early gaps, and a personal booking page makes you look established from day one.
How should I run my first online lesson?
Test your technology beforehand, keep the goals simple, spend part of the lesson diagnosing the student's level, and end with a short recap plus agreed next steps. The first lesson is about trust more than content.
Next Steps
- Explore the features overview to discover all available tools
- See how tutoring scheduling keeps your week organised
- Check our pricing page to find the right plan
- Contact us if you need any help getting started